
Our outdoor photos were taken around a month prior to when we set up the herbs to dry. Unfortunately we waited too long to collect the sweet, purple Basil as the wind was more than enough to rid the plant of its leaves the day before they were cut for drying.

Most of the plants we did let grow a little too long, and as of now the Lavender plants as well as the Rosemary are all inside to continue growing through the winter. The goal with these particular plants is to have shrubs established by the end of next year's harvest rather than collecting them now and drying them. So far the Rosemary is doing great after 4 weeks indoors. The Lavender has made no particular improvements, but it also isn't dying which we'll take for being good.

The biggest issue we found when bringing in freshly cut herbs to sort and dry were the number of spiders and inch worms that decided to tag along(so much for the peppermint and mint plants driving spiders away). Everything that was to be dried was thoroughly washed in cold water before being tied and many, many freeloaders were set back outside to go find new homes in the plants that we never intend to eat.
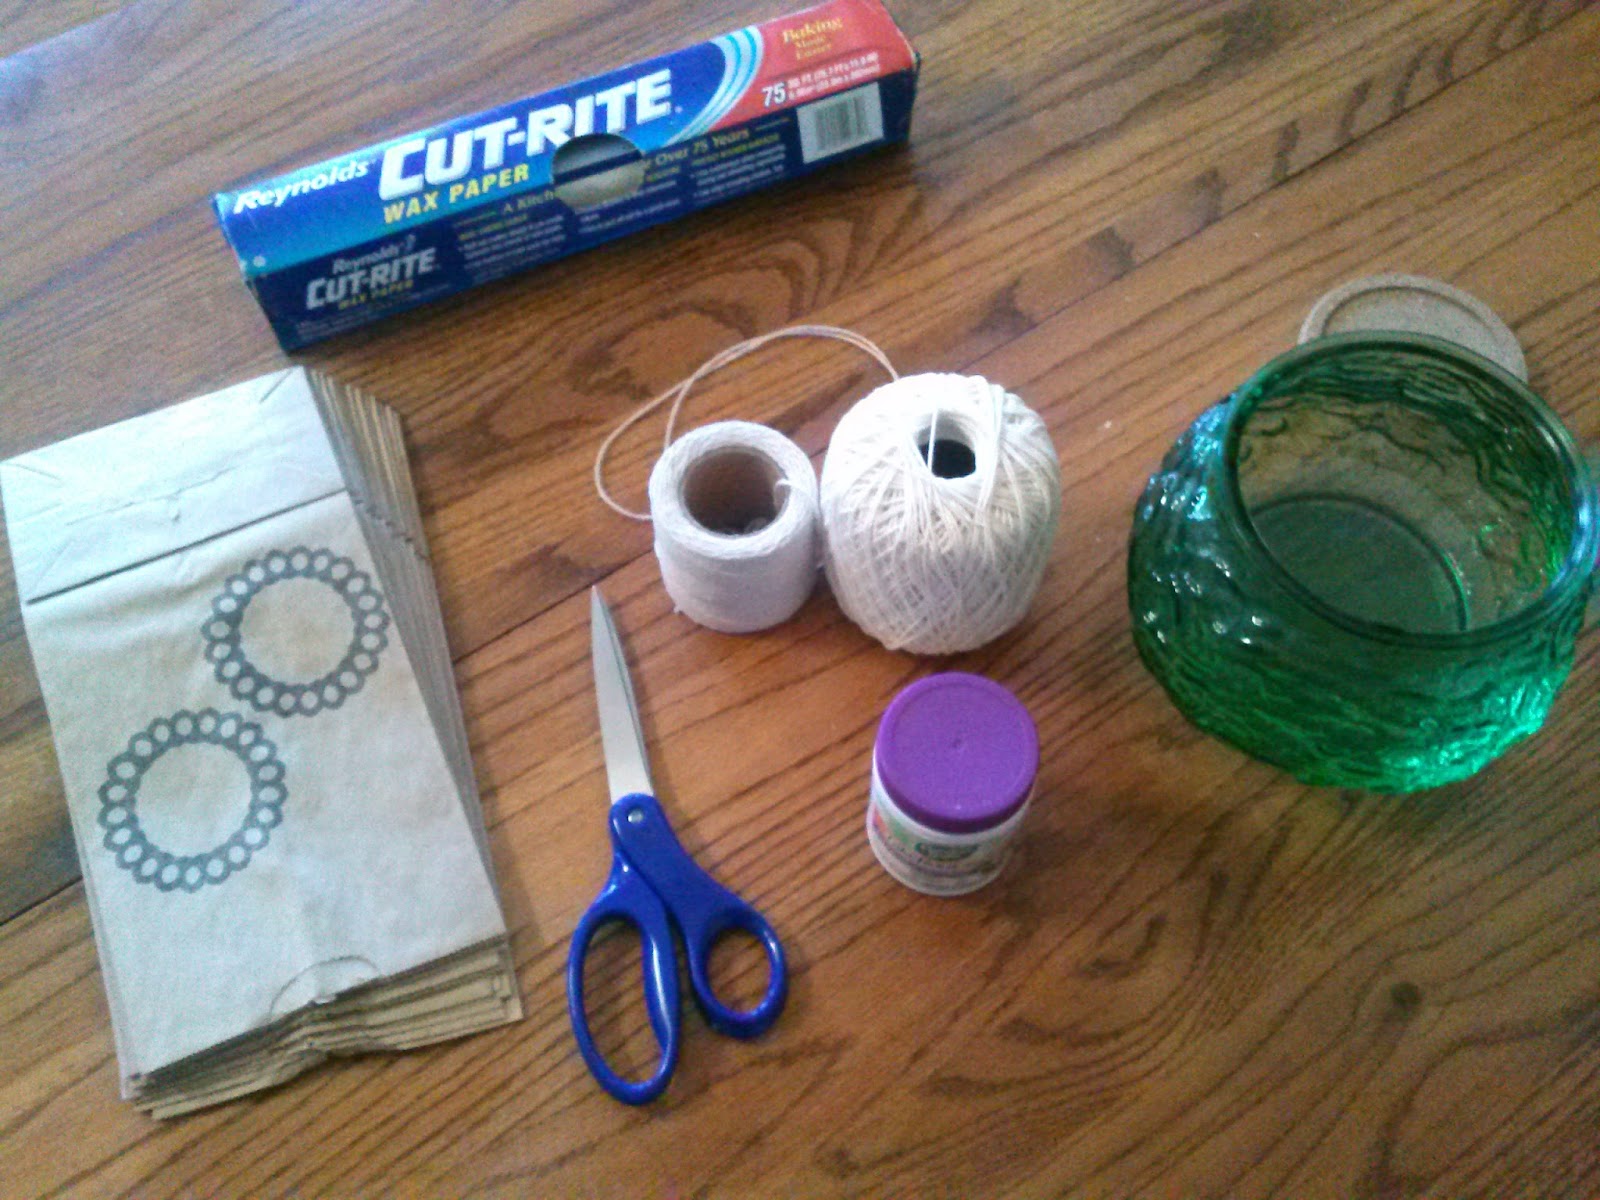
Setting up the supplies for herb drying were simple. Wax paper to sort herbs on, a simple string to tie up the ends (make sure you use enough to hang your plants), scissors for your string and brown paper bags; the paper bags are for covering your herb bundles so they remain clean while drying. The green bowl and the purple lid jar pictured here were for propagating some of the herb cuttings. Not all worked out but we did get a few cuttings to grow roots. To propagate your herbs you need a container of water and root powder(I use Take Root). Dip the cut end of your plant in water, then in the root powder and place the plant in a container of water. You should notice roots growing within a few days or a week at most. Once the roots are well established you can replant the cutting into a pot of soil and let it grow.
Now on to the matter of drying herbs. Our plants took about 3 weeks to dry, though some may take longer. If you don't have a month to wait, or just don't want to wait out that month, to let your herbs dry you can always use the oven method. Set your oven to 170-180 degrees, lay your herbs out on a baking pan and let sit in the warm oven 2-4 hours. You'll know your herbs are ready when they crumble easily. Something to note with the oven method versus the air drying method(as we've noticed after trying both methods)is that herbs dried in the oven will darken in color and may loose some of their flavor where as herbs hung up to dry out over several weeks maintain their color much better as well as their flavor. Their scent is also much stronger when compared to oven dried herbs.
When your herbs are dried you'll be able to crush them and store them. We opted for using a mortar and pestle so as to have better control over the finely crushed herbs(between the mortar and the flexible cutting mat used it made it easier to package the herbs after crushing). Not all of the herbs were crushed however, since this year's harvest was used mostly for gifts one of the recipient's herbs were left as fully intact as possible(after being removed from their stems of course) as this particular individual we know loves to cook so we knew she would also love to have the option to crush various herbs gifted to her together while cooking instead of us just crushing them all separately before packaging them.
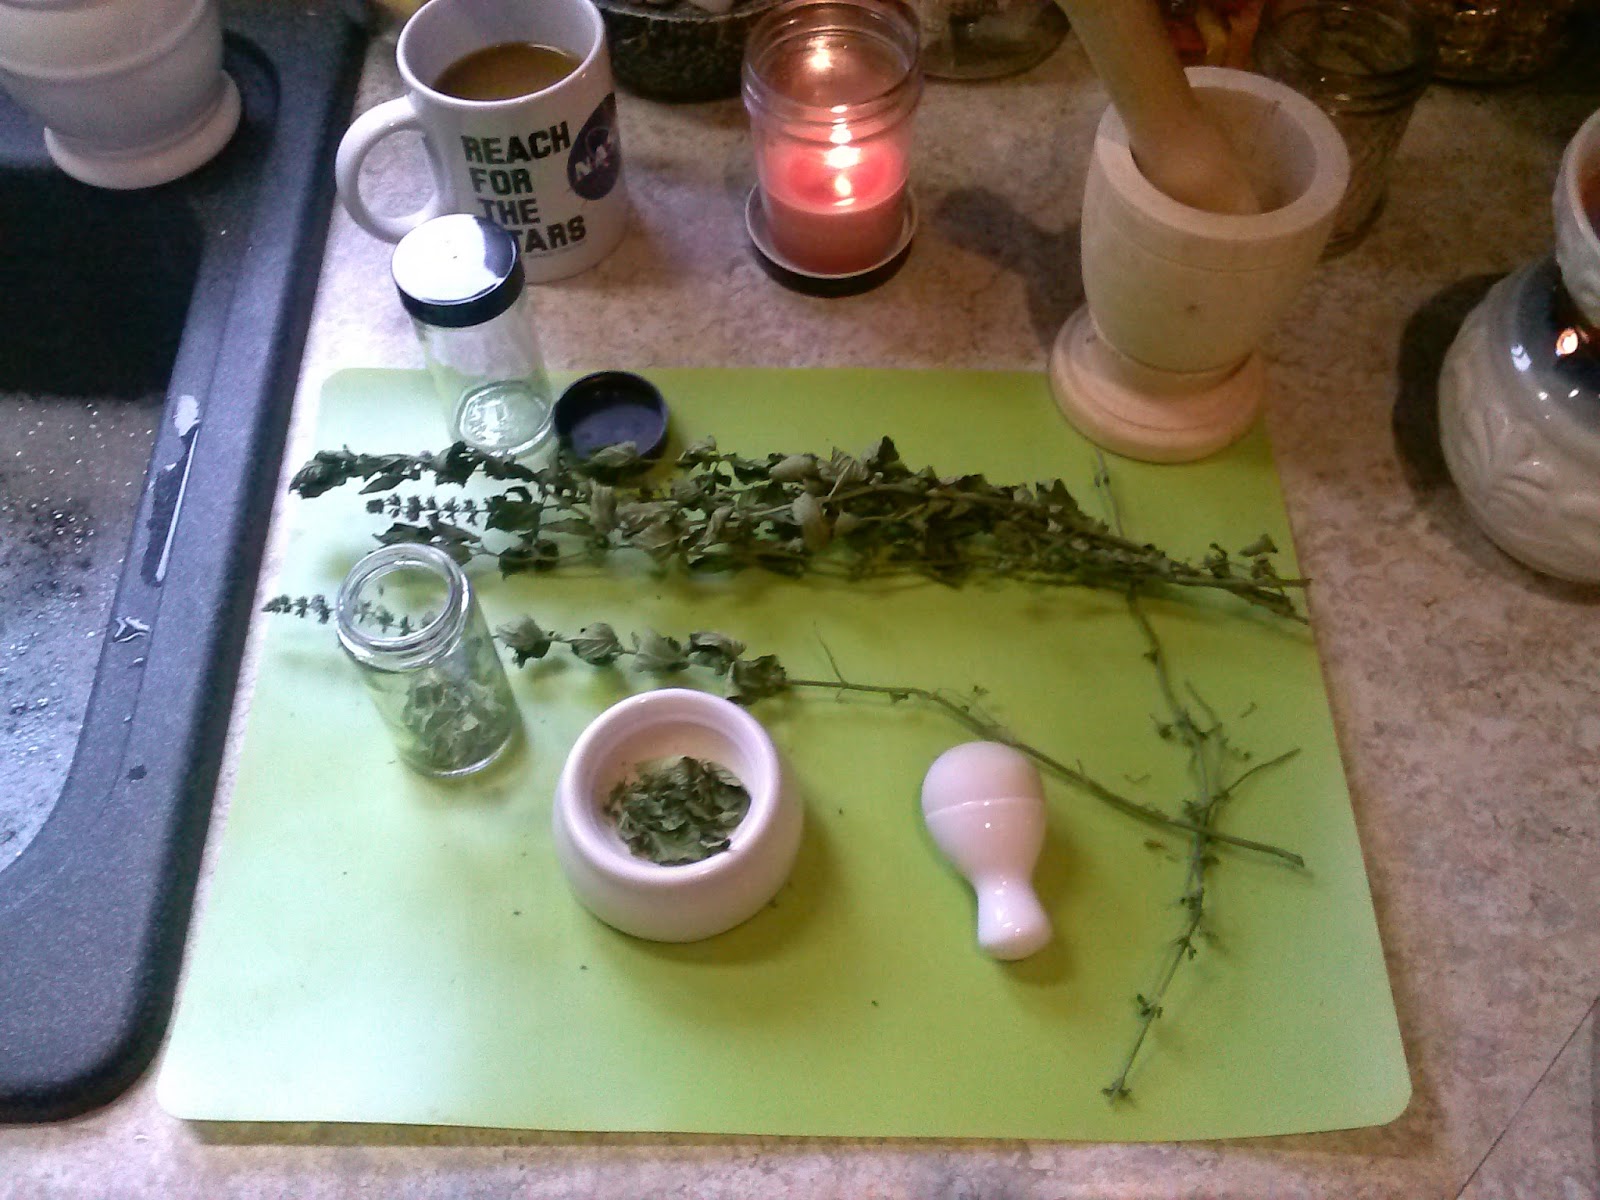 |
| Just to note: the stone mortar and pestle worked better for this than the wooden one did. The wooden mortar and pestle seems to work best when we're combining herbs when cooking our meals. |
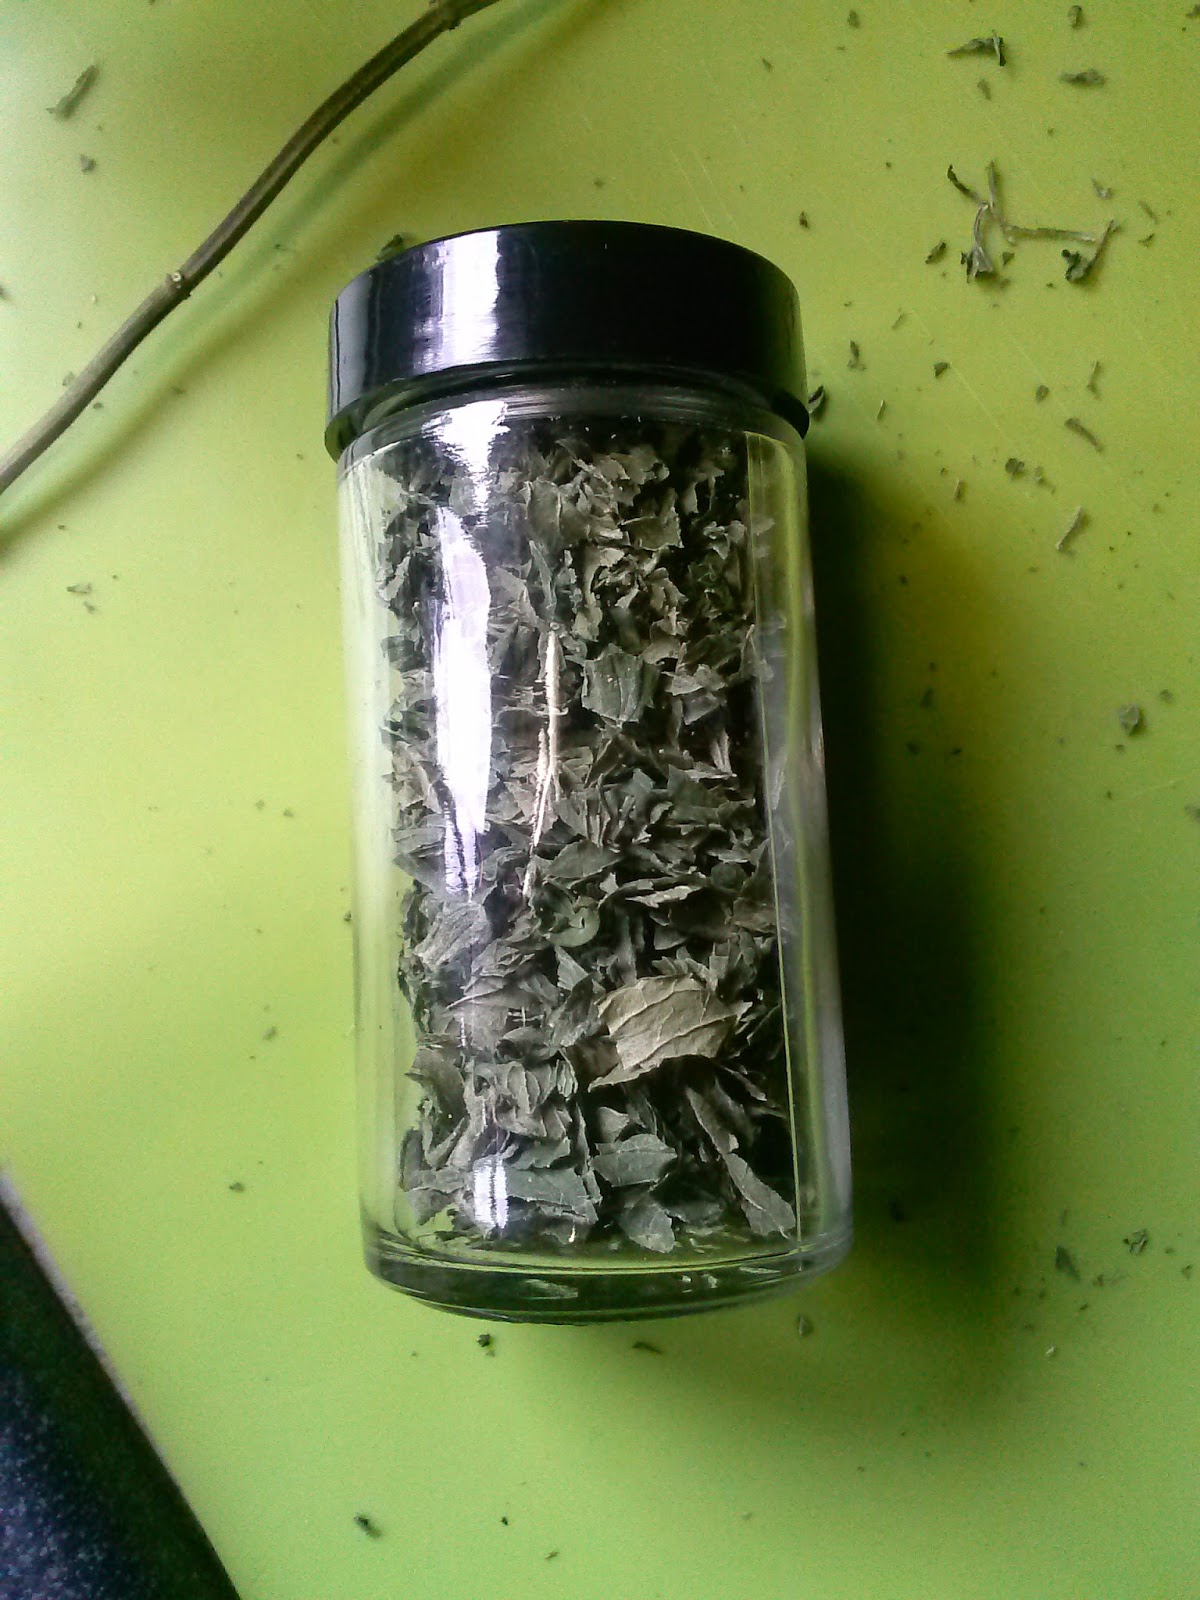 |
| We found these simple spice jars at Big Lots for .95 each. Each jar is glass and came with the additional cover so the jar could be used as a shaker. |
 |
| From the middle to the right: Oregano, Basil and Mint. All maintained their colors after drying. |